1.「設定」アイコンをタップします。

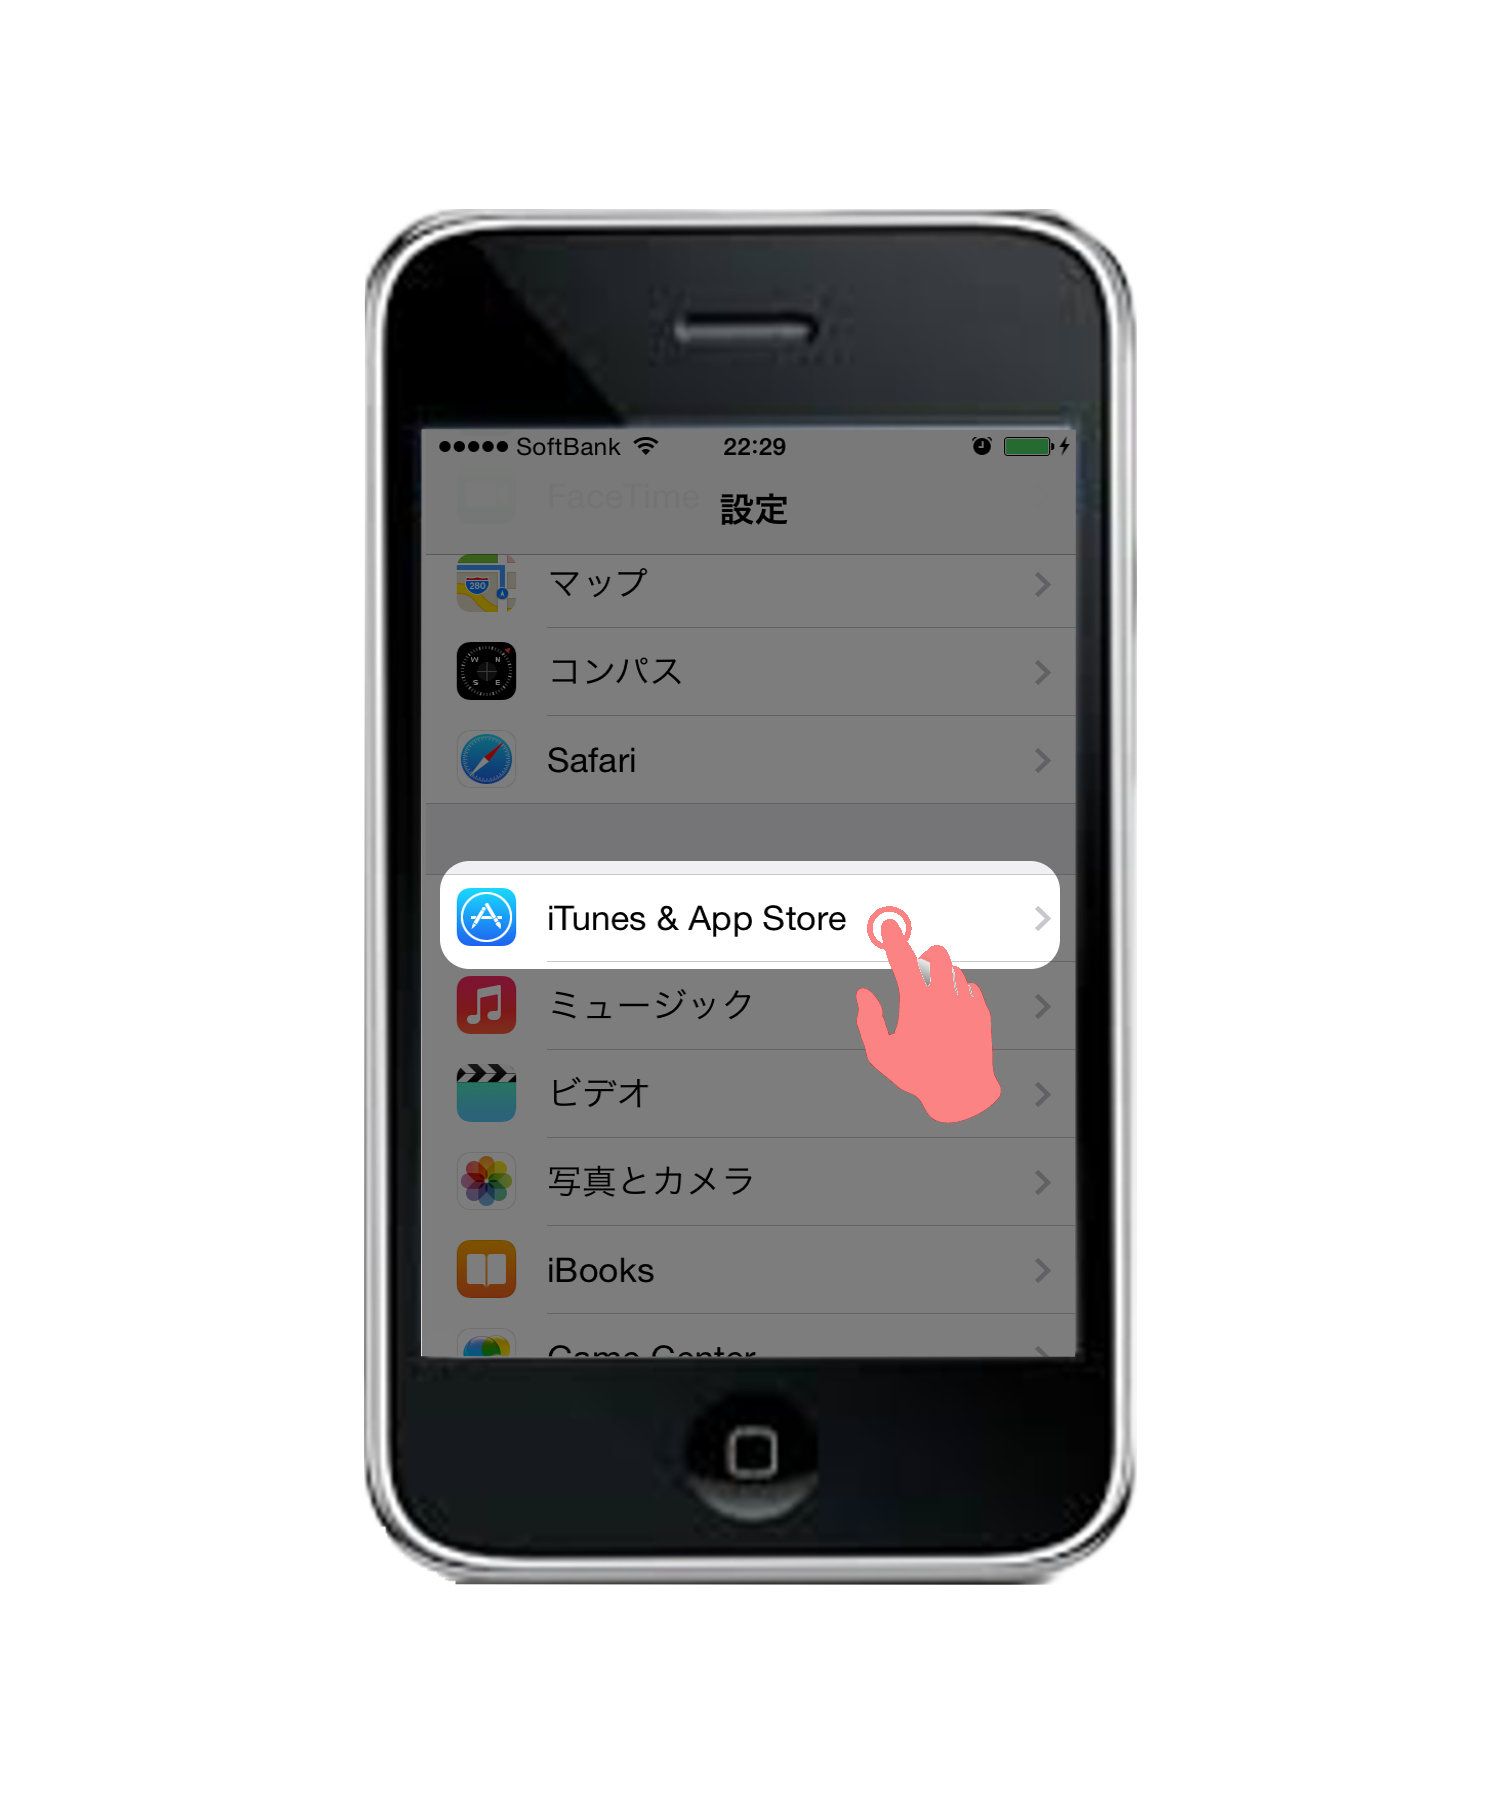
2.「iTunes & App Store」をタップします。
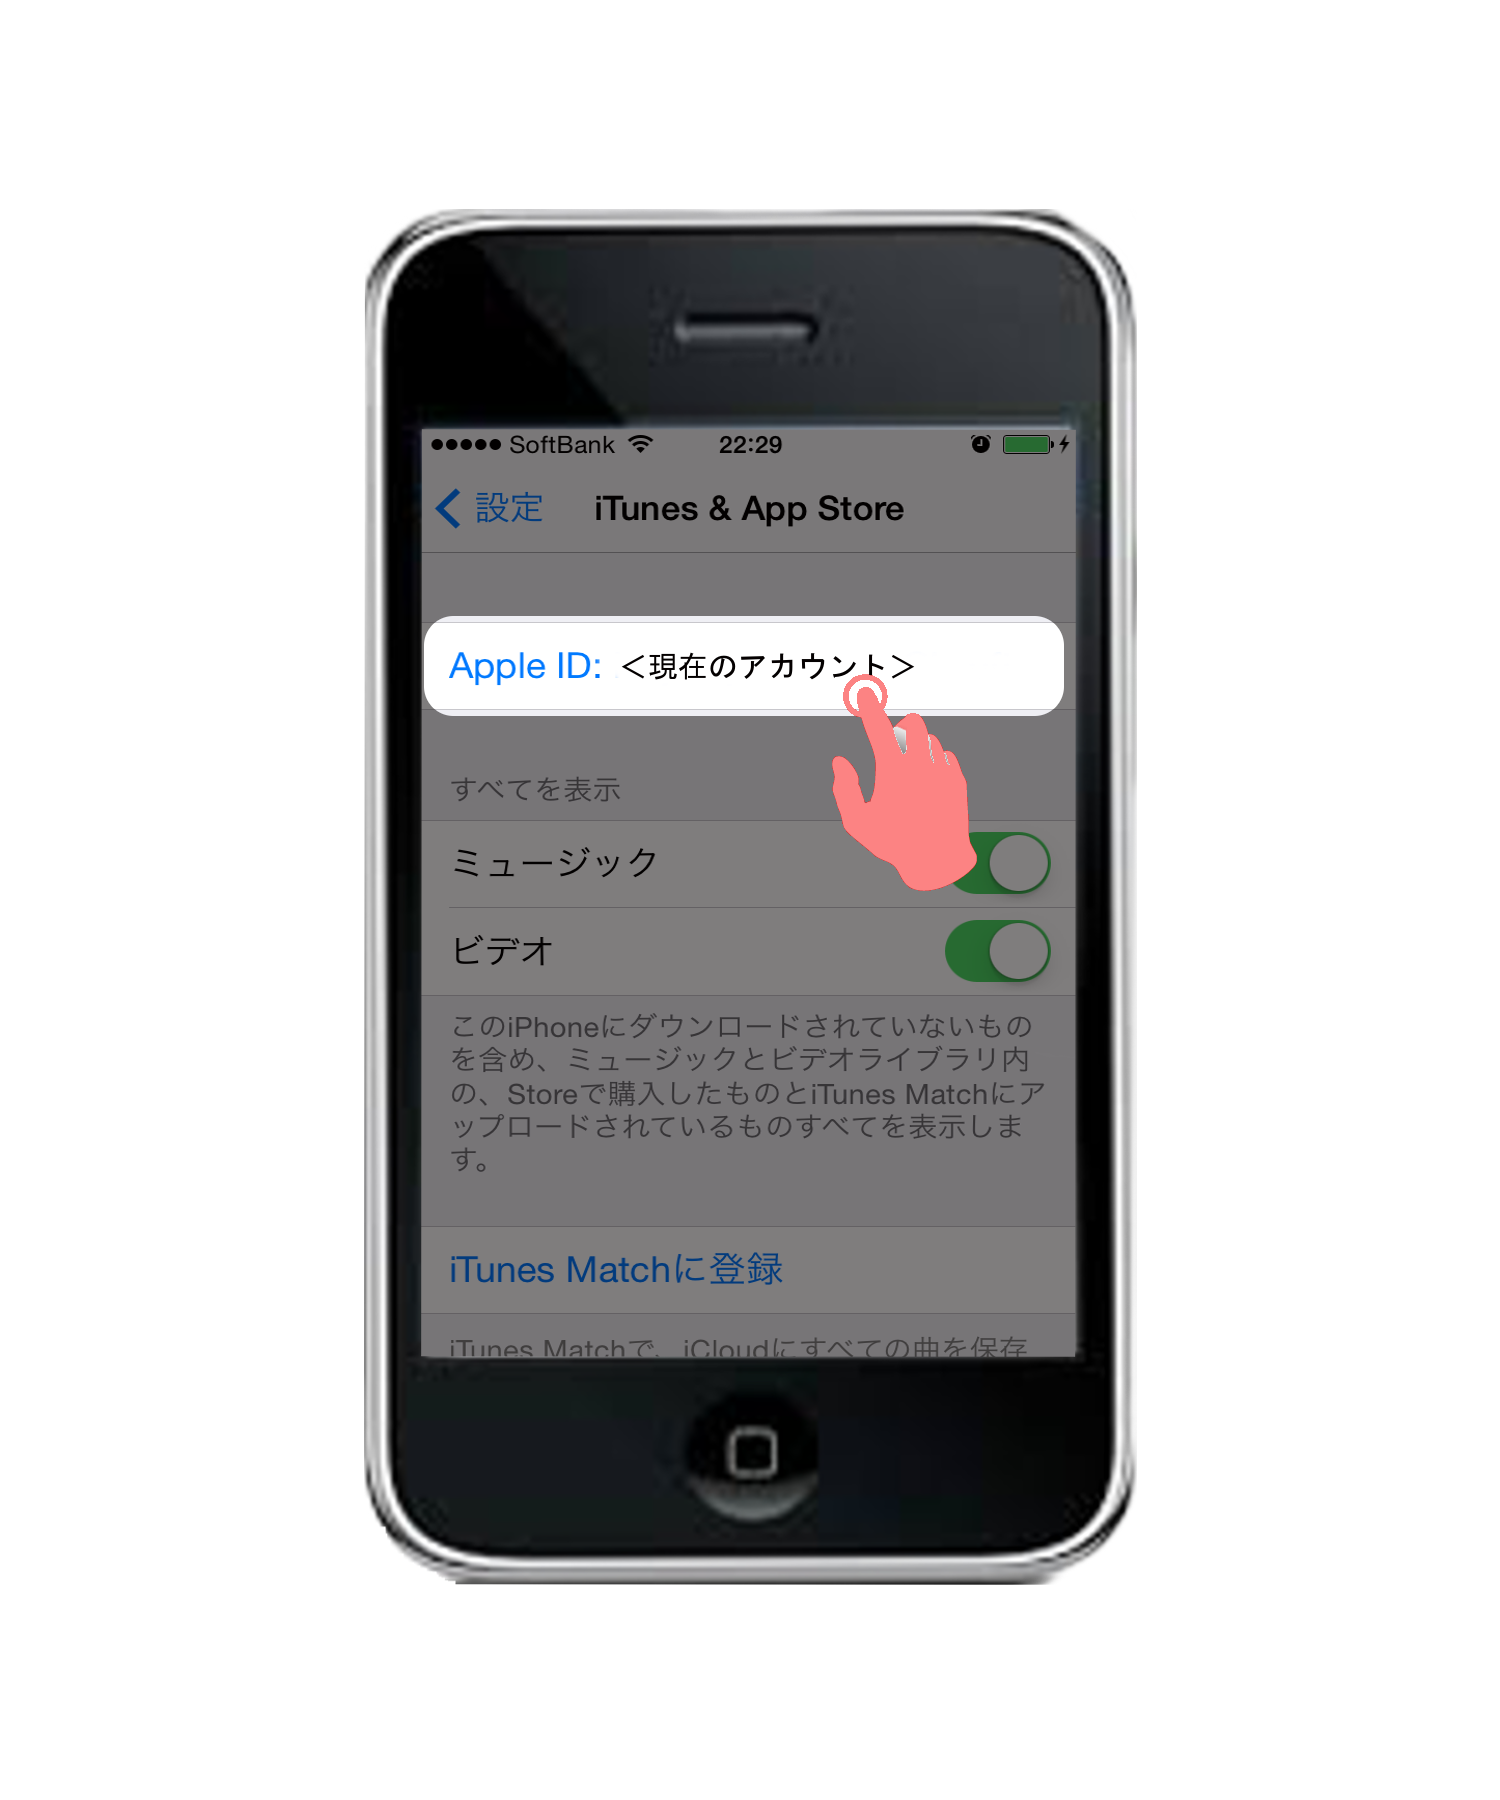
3.「Apple ID」に表示された現在のIDをタップします。
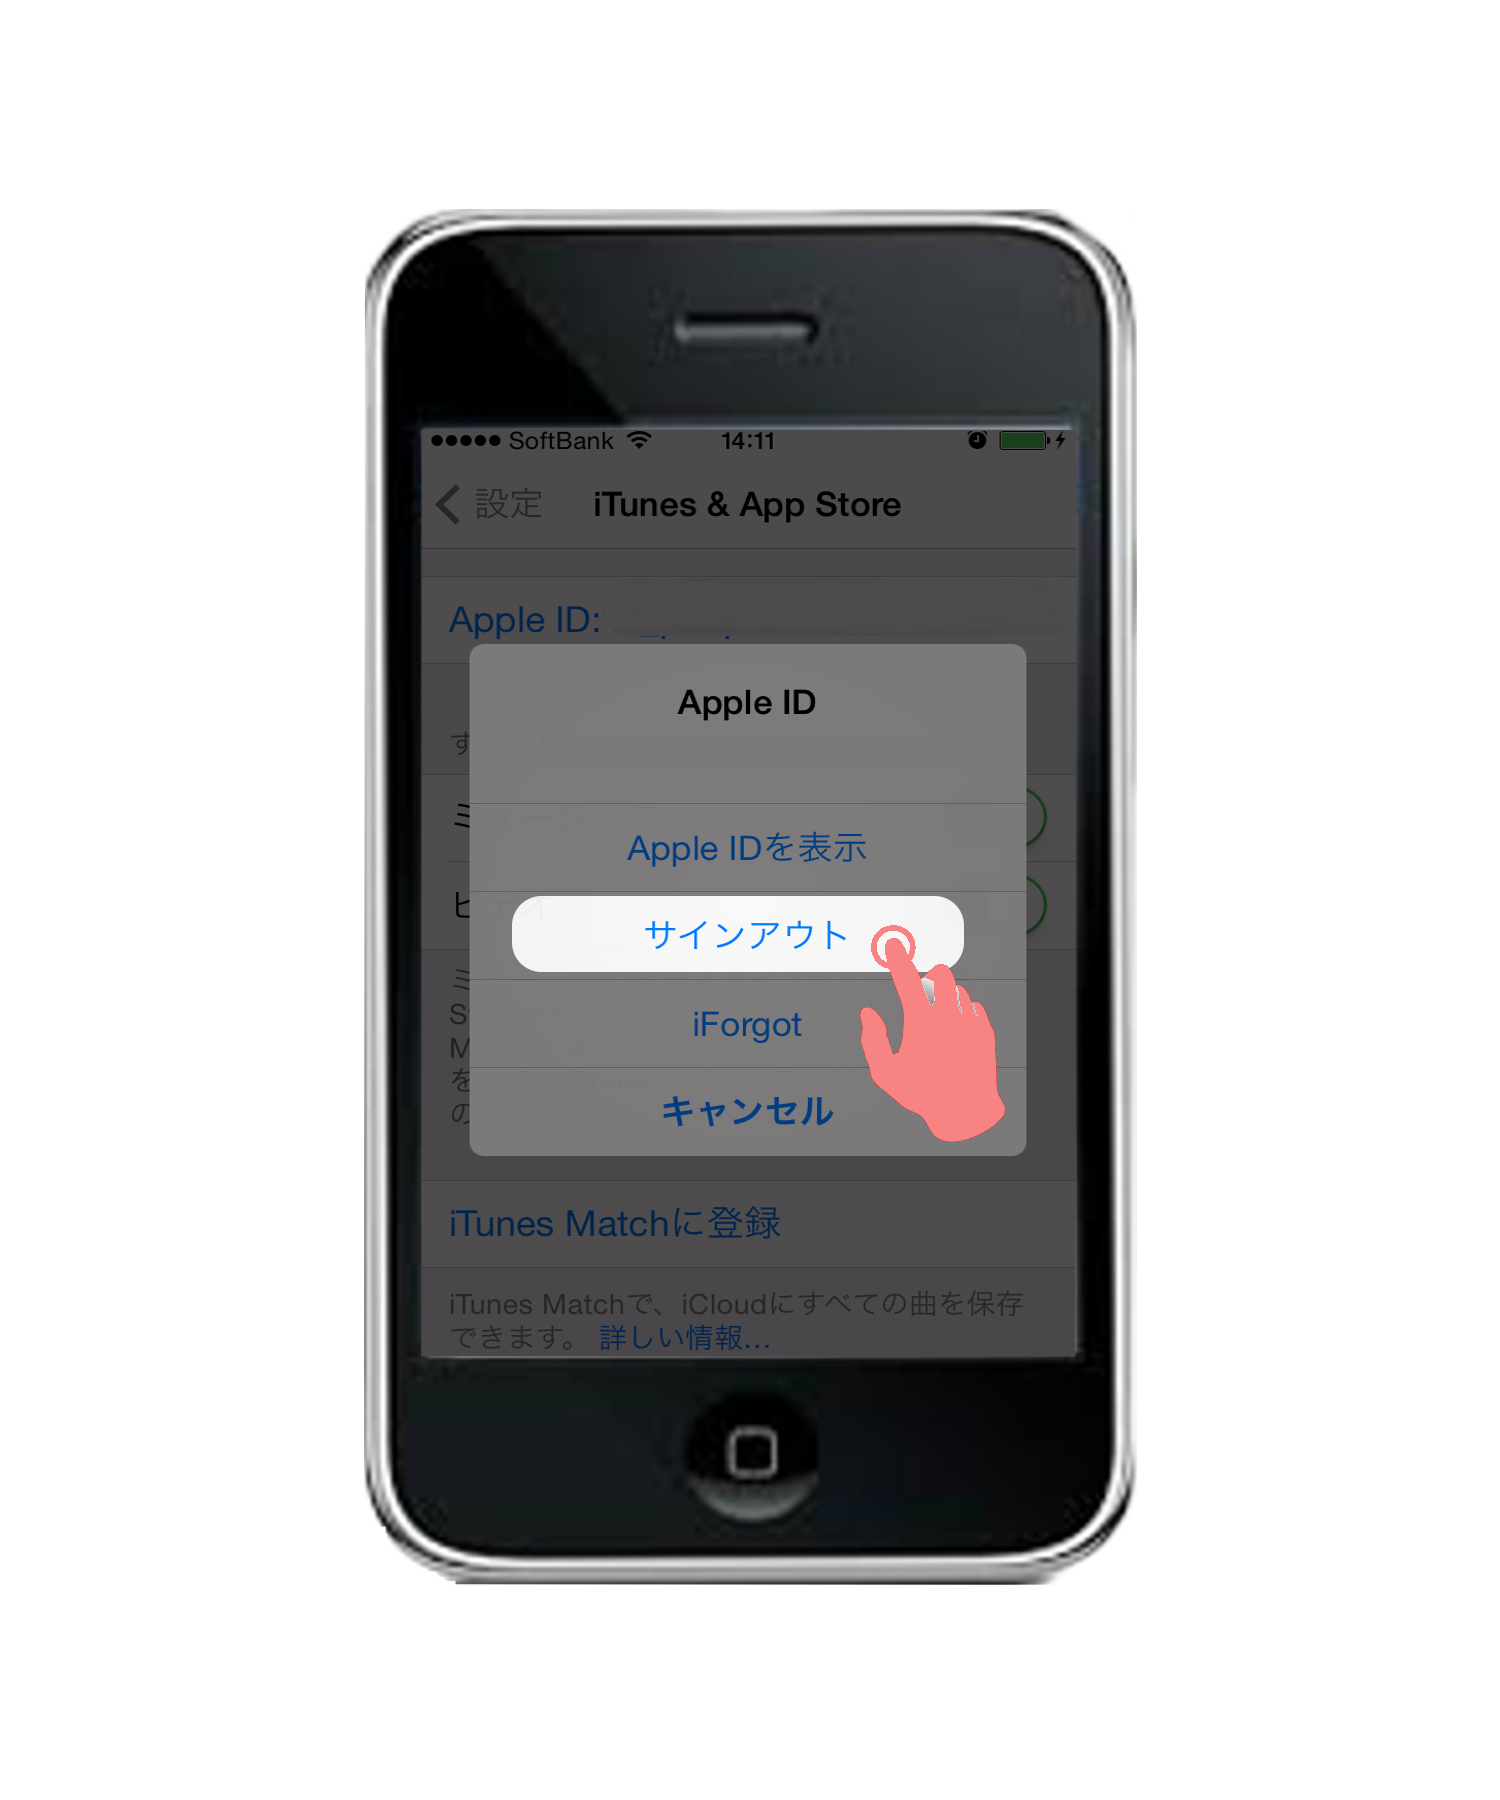
4.「サインアウト」をタップし、現在のアカウントから抜けます。
5.変更したいApple IDやパスワードを入力し、「サインイン」をタップします。

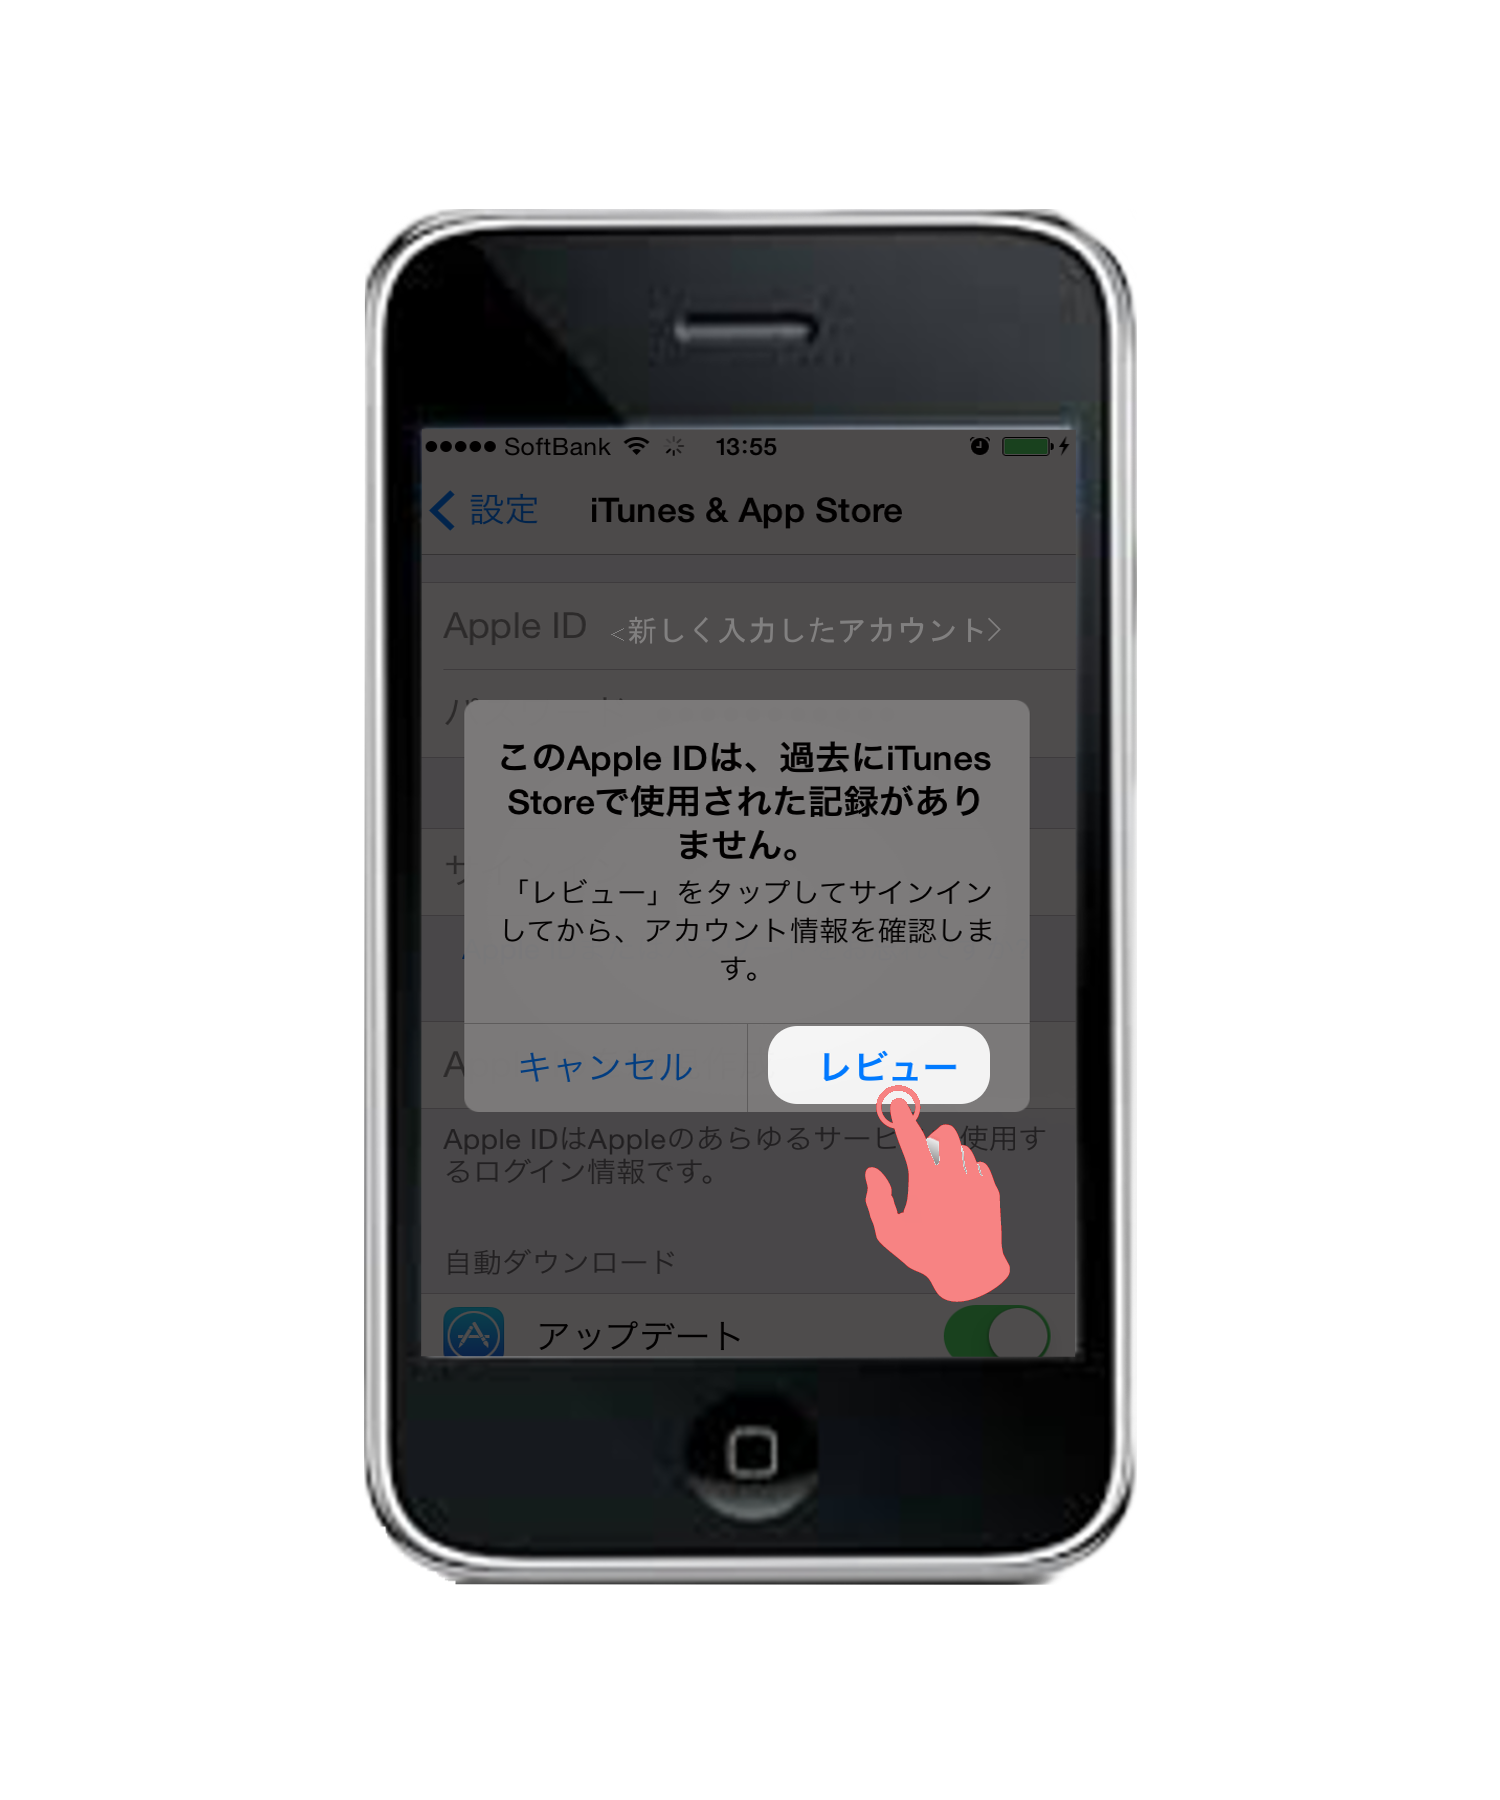
6.初めてログインする場合は、この画面が表示されるので「レビュー」をタップします。
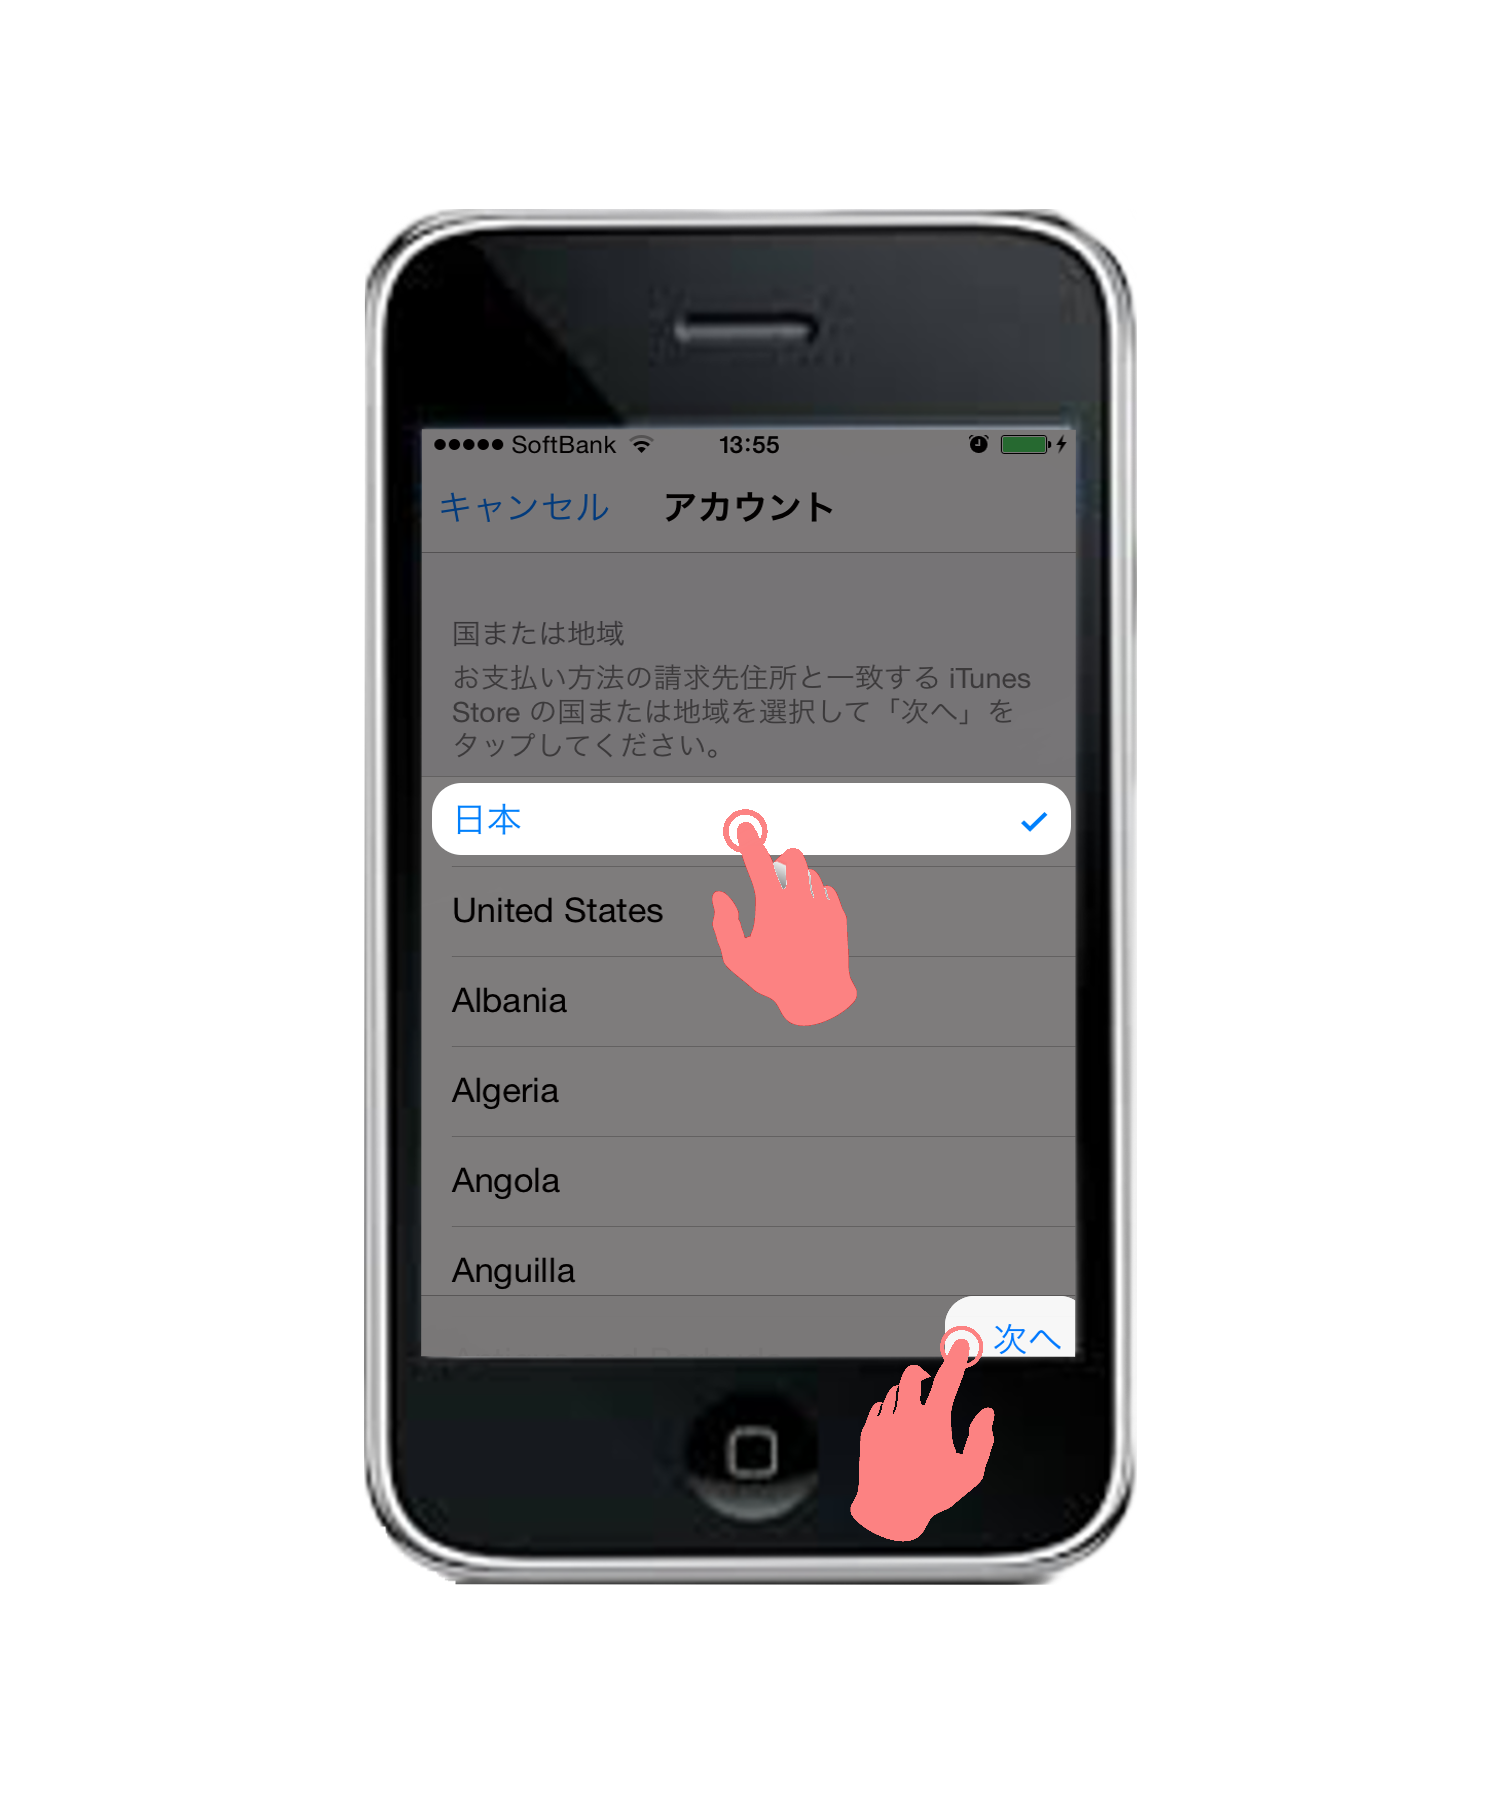
7.お住まいの地域をを選択後、「次へ」をタップします。
8.「同意する」をタップします。
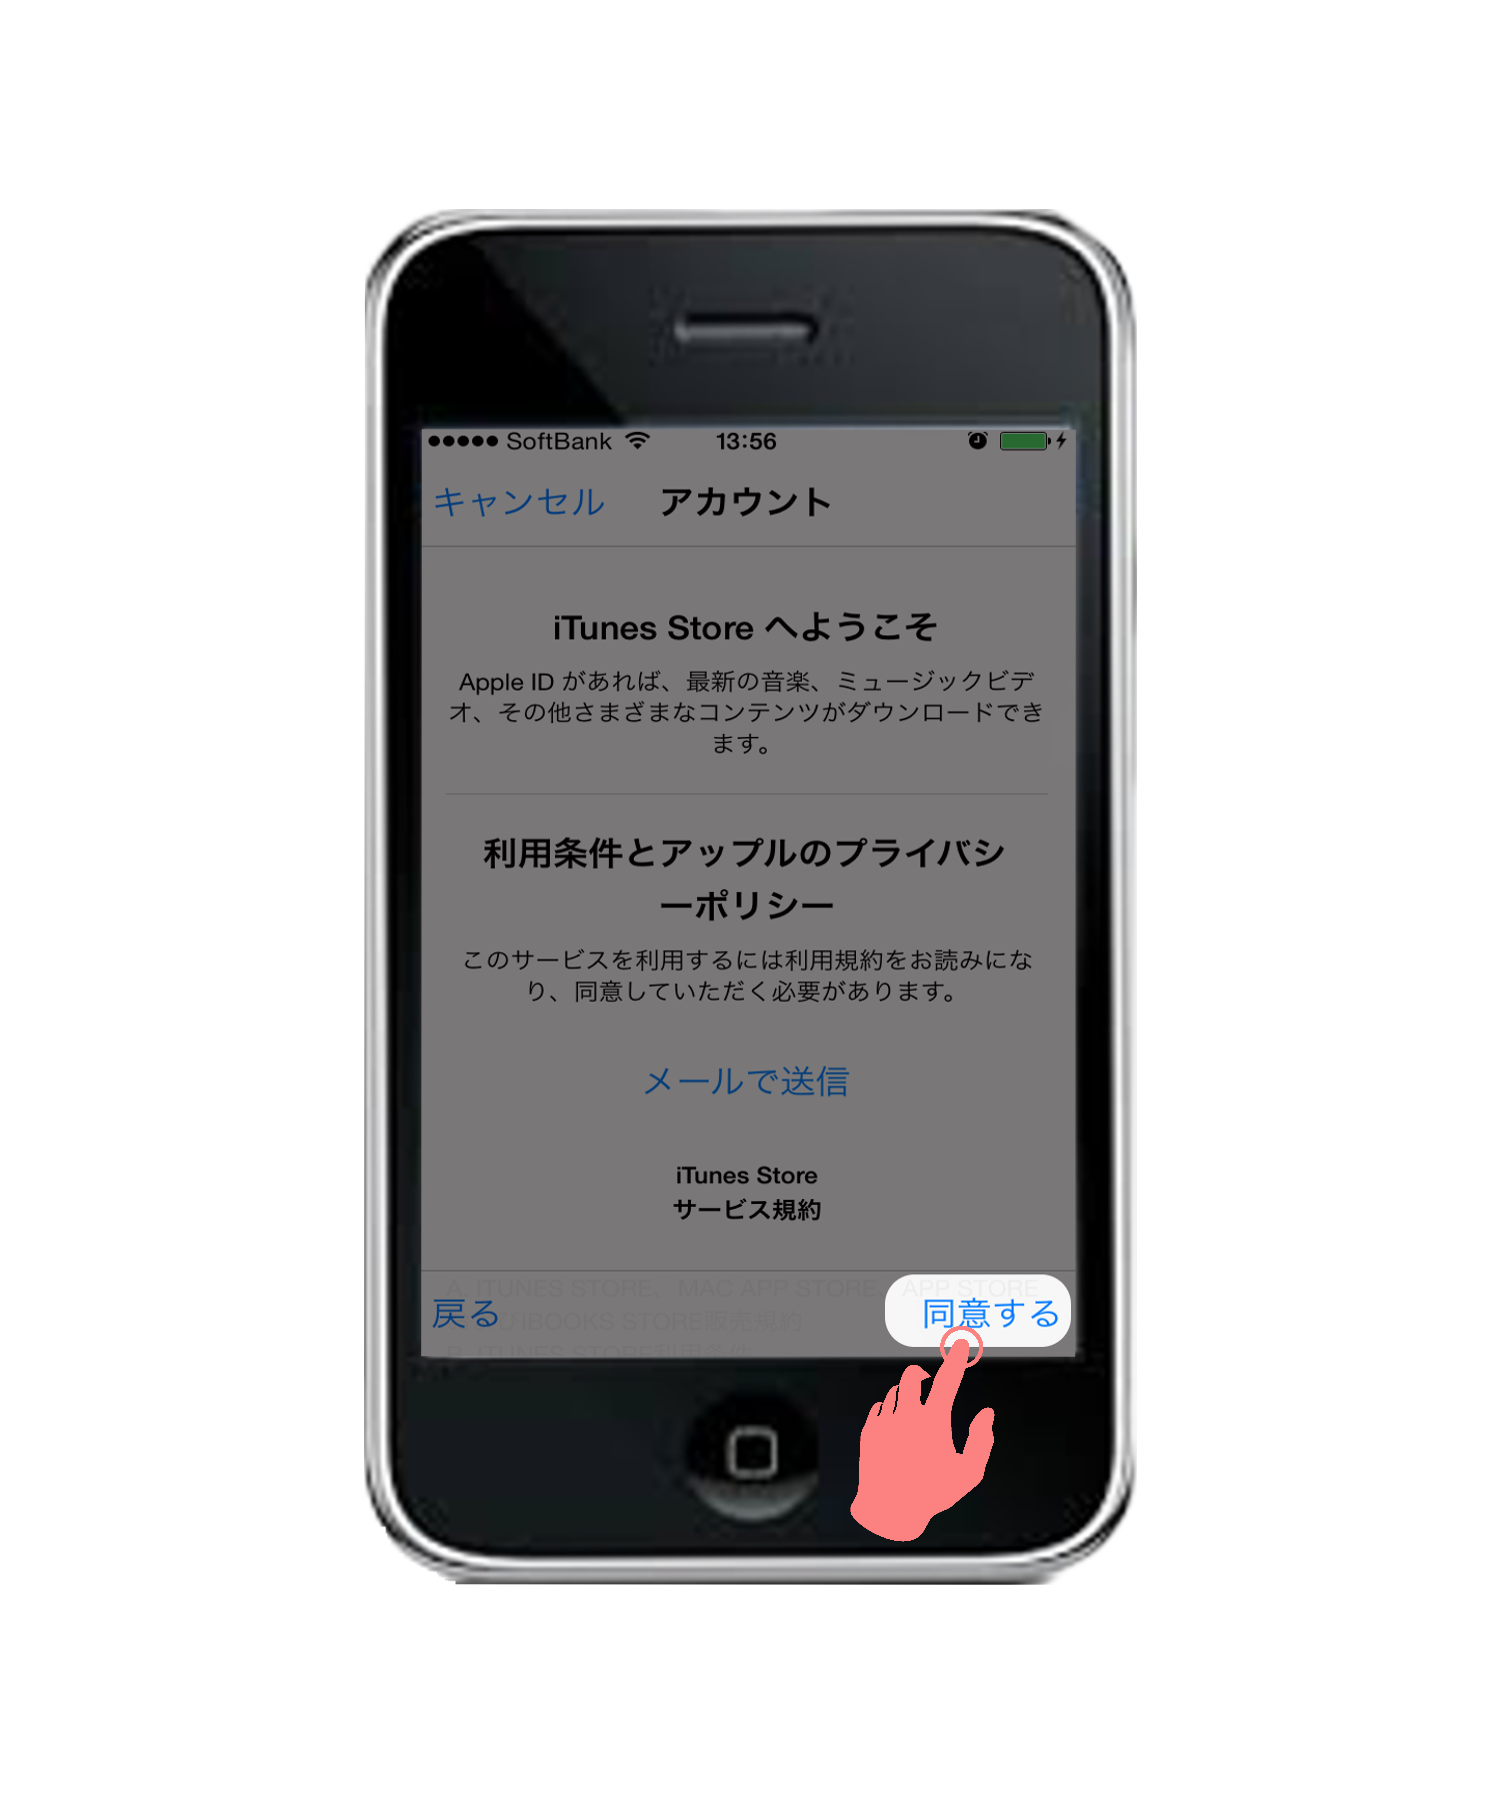
9.もう一度「同意する」をタップします。

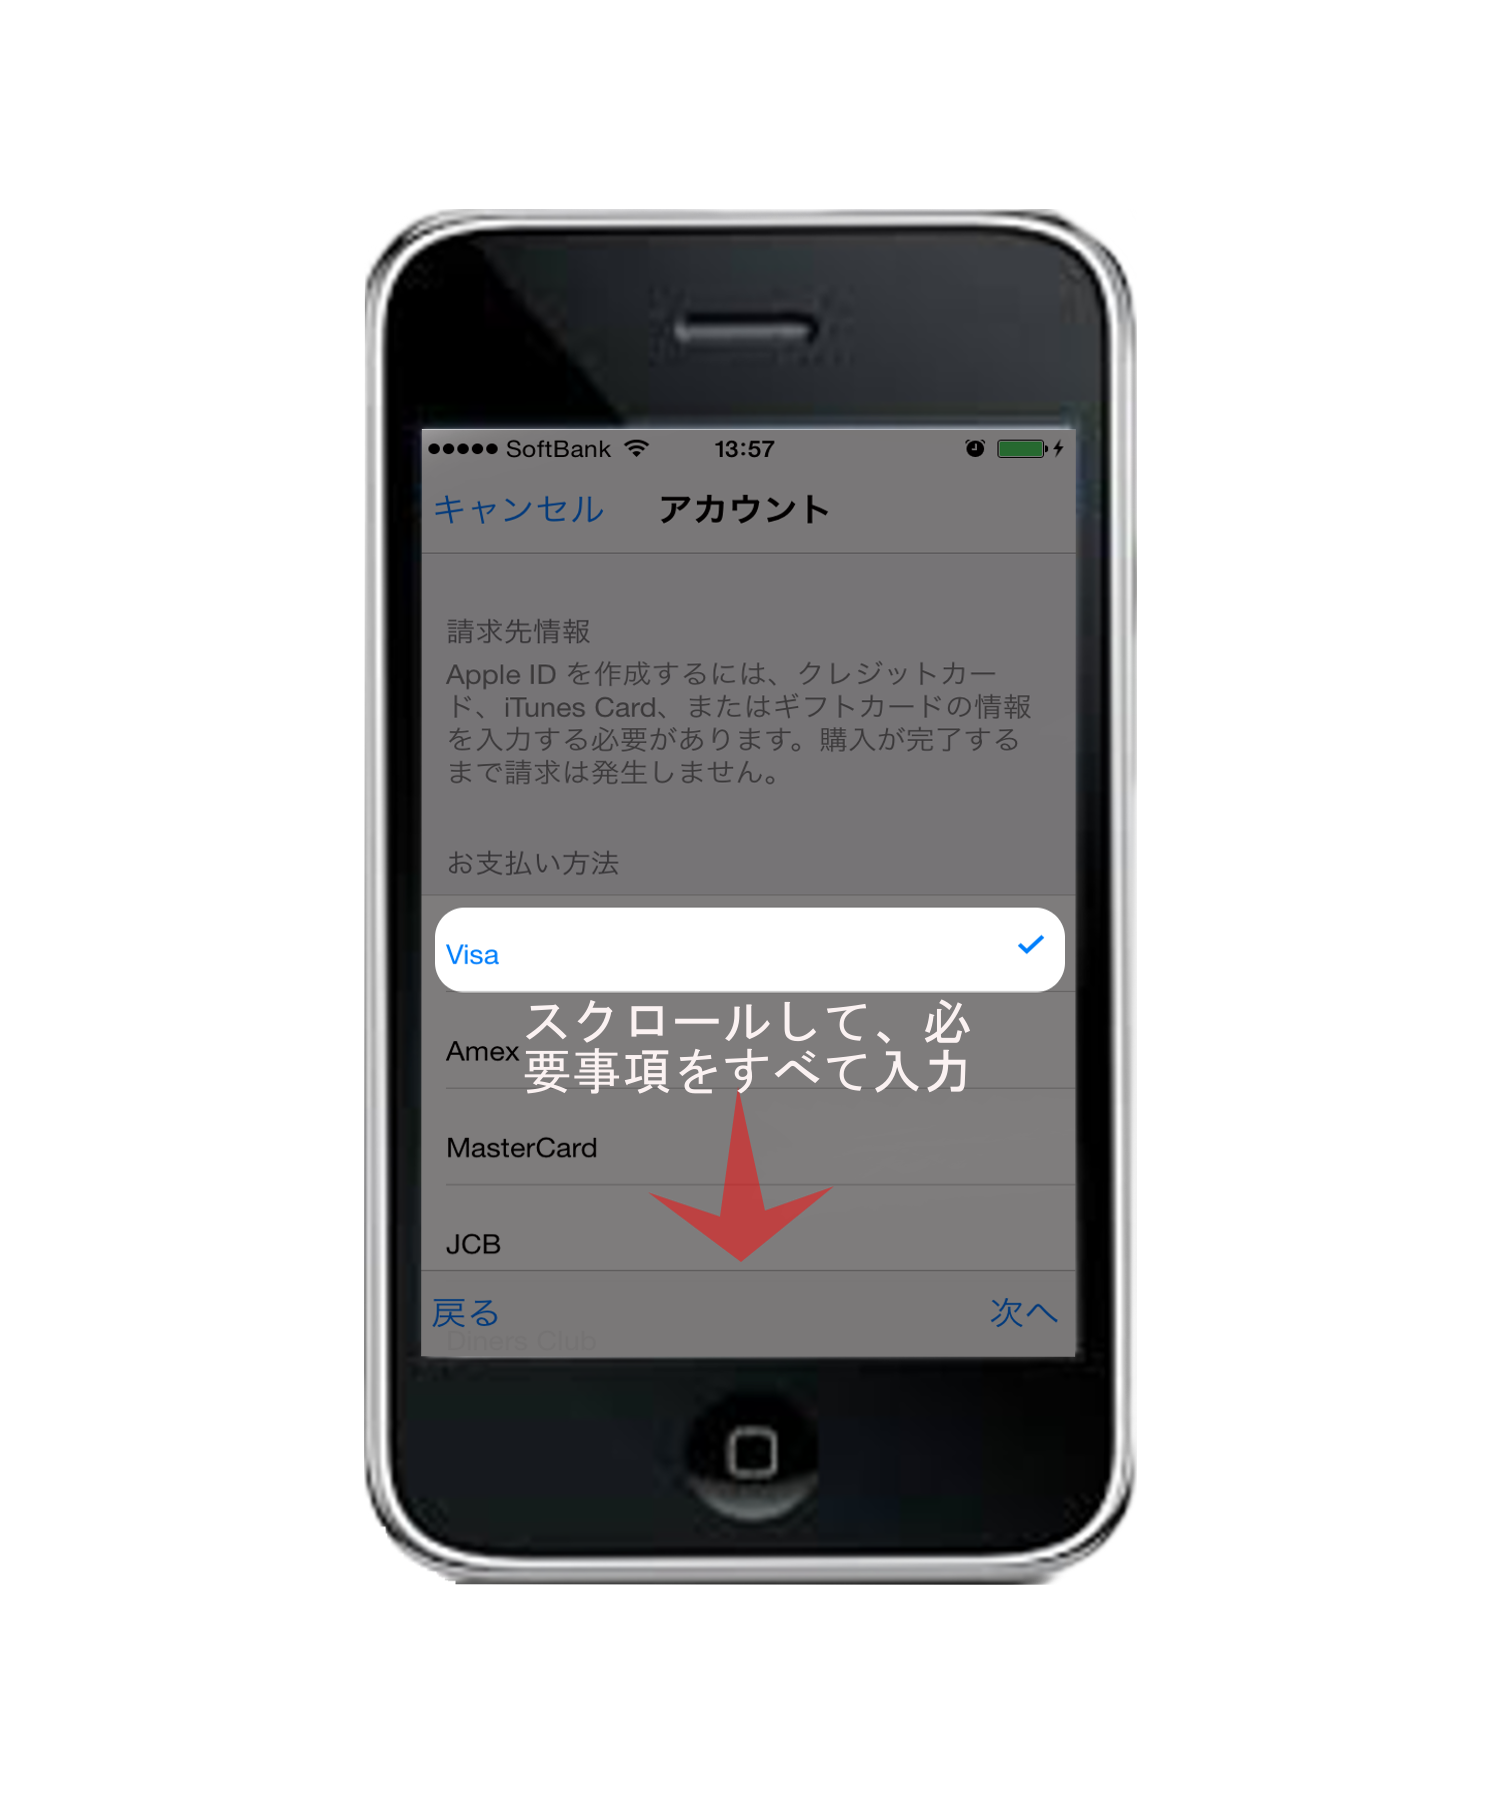
10.クレジットカードの情報、氏名、住所などを入力します。
11.正しく認識されるとこの画面が表示され、正常にアカウントを変更することができます。